To match skeletal mesh animations from one set (like GoldenEye or Perfect Dark) to a new skeletal mesh (like the
one from Mirror's Edge) in 3ds Max, follow these steps to efficiently retarget animations:
1. Prepare the Skeletons
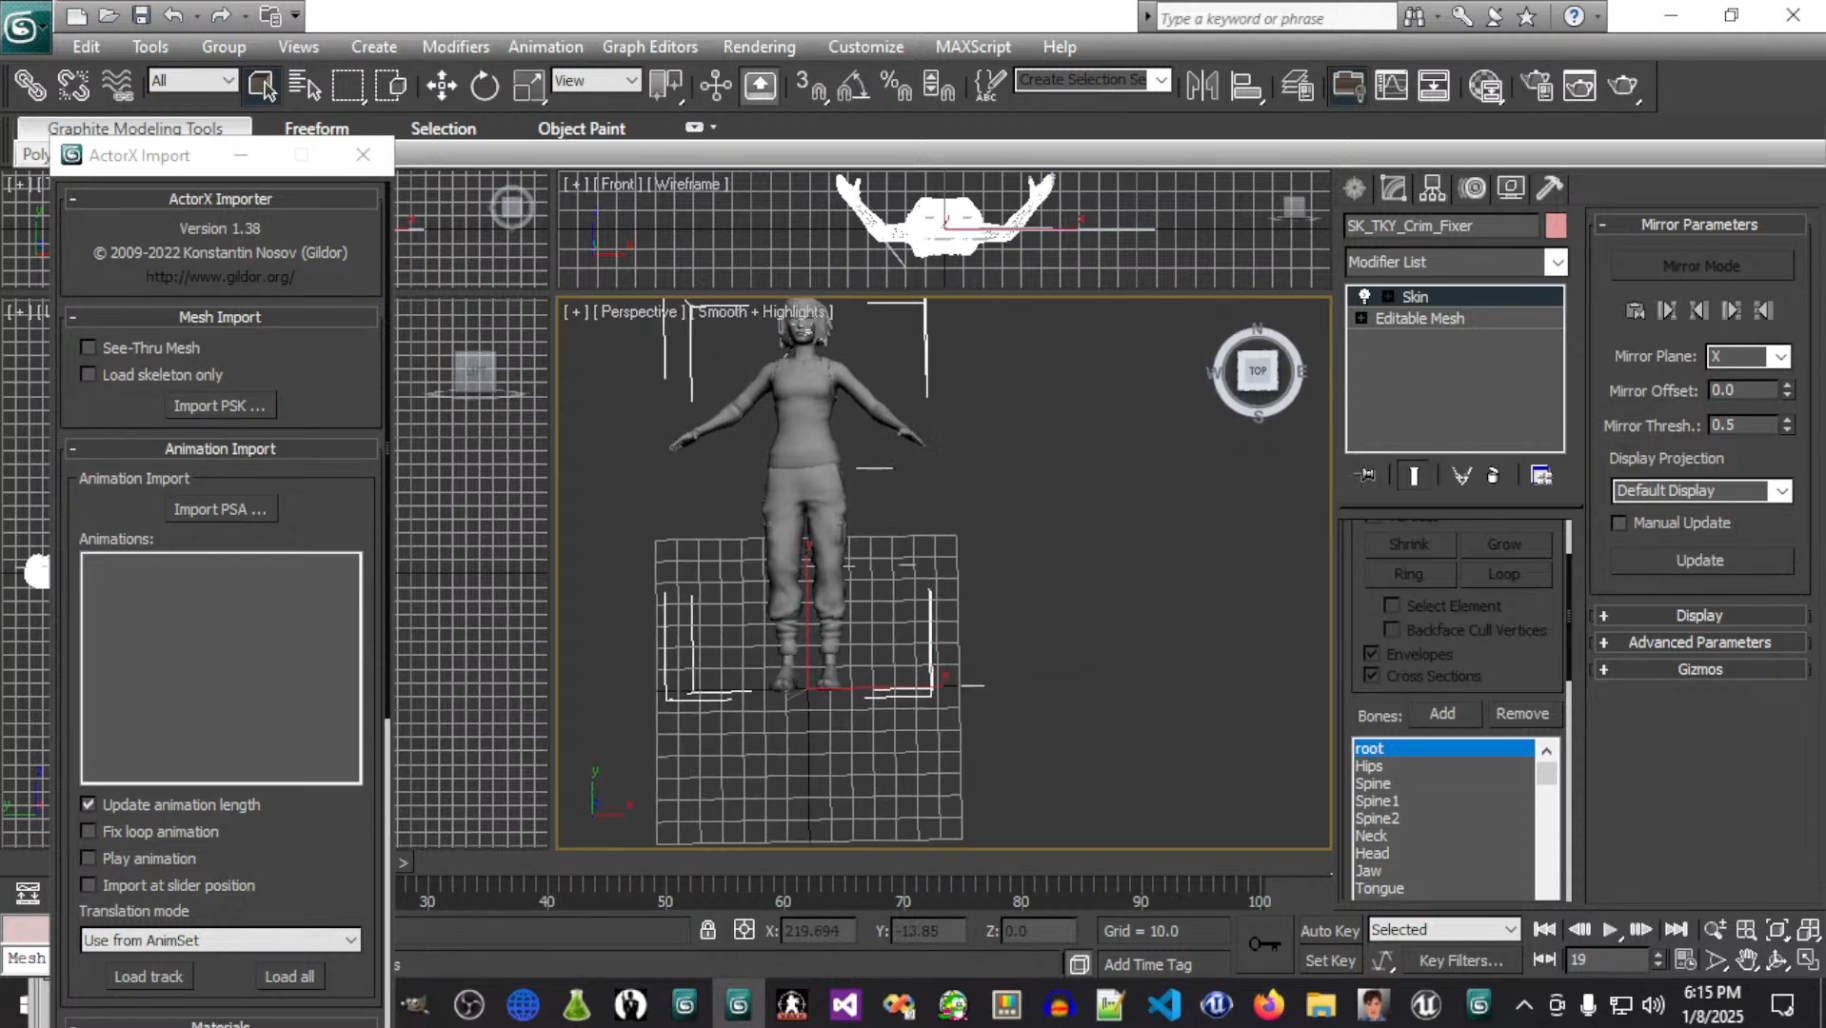
Import the Mirror’s Edge Skeleton
First, import the Mirror's Edge skeleton into 3ds Max. This is typically in an .FBX format,
and
it should come with the mesh, rig, and bones that you’ll be using for the animations.
Import the Original Skeleton (GoldenEye/Perfect Dark)
Import the skeletal mesh and animation files from the original games. These are usually in
.FBX
format as well. Be prepared for some adjustments as these skeletons may not match perfectly with the
Mirror's Edge skeleton.
2. Use Skin Wrap Modifier
Skin Wrap Modifier
The Skin Wrap modifier is a great tool in 3ds Max for transferring weights between two rigs. It allows
you to
map the original skeleton's animation to the new one, even if they don't share the same bone structure.
Steps:
Select the Mirror's Edge skeleton mesh and apply the Skin Wrap modifier.
In the modifier’s settings, select the GoldenEye/Perfect Dark skeleton as the source for the Skin
Wrap.
The Skin Wrap modifier will transfer the mesh deformations from the original skeleton to the
Mirror's
Edge skeleton.
You may need to fine-tune some settings, especially for larger differences between the two
skeletons,
like scaling or position offsets between bones.
3. Adjust Bone Mapping
Bone Mapping/Relinking
Sometimes, the bone names, orientations, or number of bones may differ between skeletons. This requires
manual mapping or using Bone Tools in 3ds Max to map corresponding bones from the original skeleton to
the
new one.
Steps:
Use the Bone Tools in the Animation menu to create bone mappings between the source
skeleton (GoldenEye/Perfect Dark) and the destination skeleton (Mirror’s Edge).
If bones are not directly comparable, manually adjust their position or rotation to match better,
ensuring the animation plays properly when transferred.
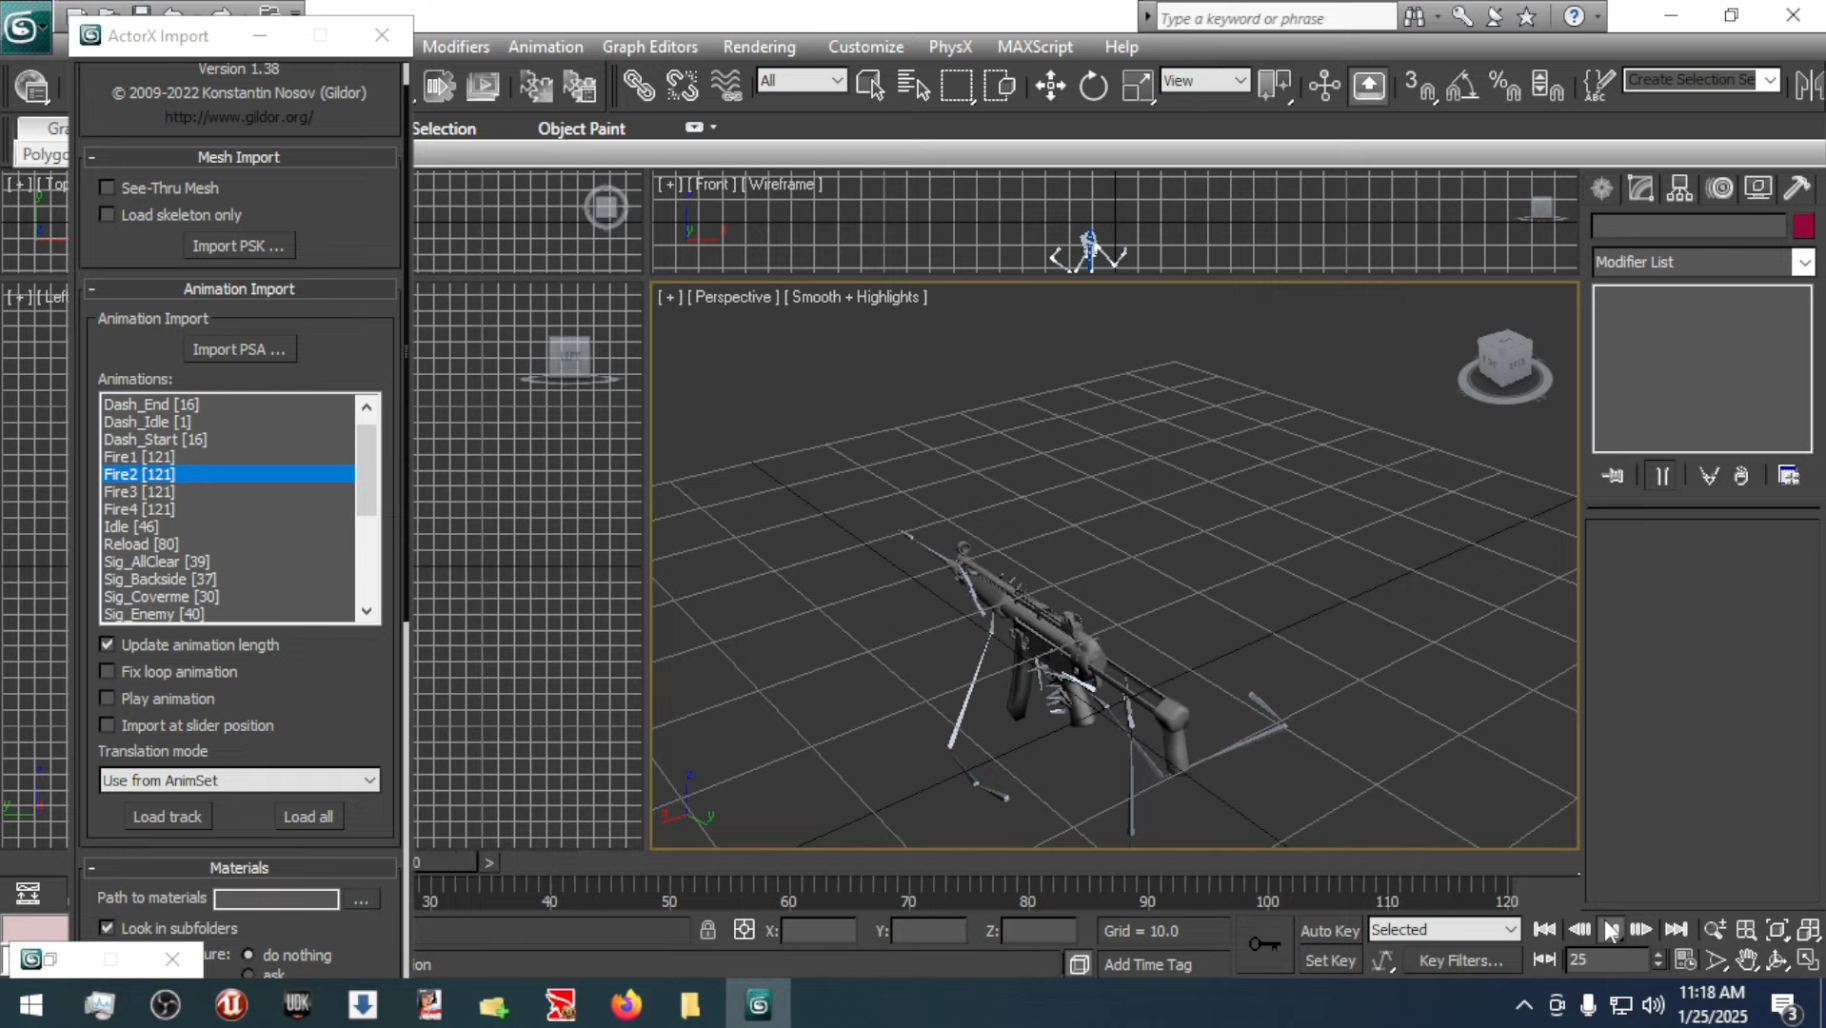
4. Retarget Animations
Motion Flow/Animation Retargeting
If the original and target skeletons have a similar structure but not exactly the same, 3ds Max's Motion
Flow
(or similar tools like CAT or Biped) can help retarget the animations from the original skeleton to the
new
one.
Steps:
Select the source animation (from GoldenEye or Perfect Dark).
Use the Animation Layering or Motion Flow to retarget the keyframe data from the original bones to
the
corresponding bones in the Mirror's Edge skeleton.
In Motion Flow, specify the source (original skeleton) and target (Mirror's Edge skeleton) for each
bone, and 3ds Max will match the animations appropriately.
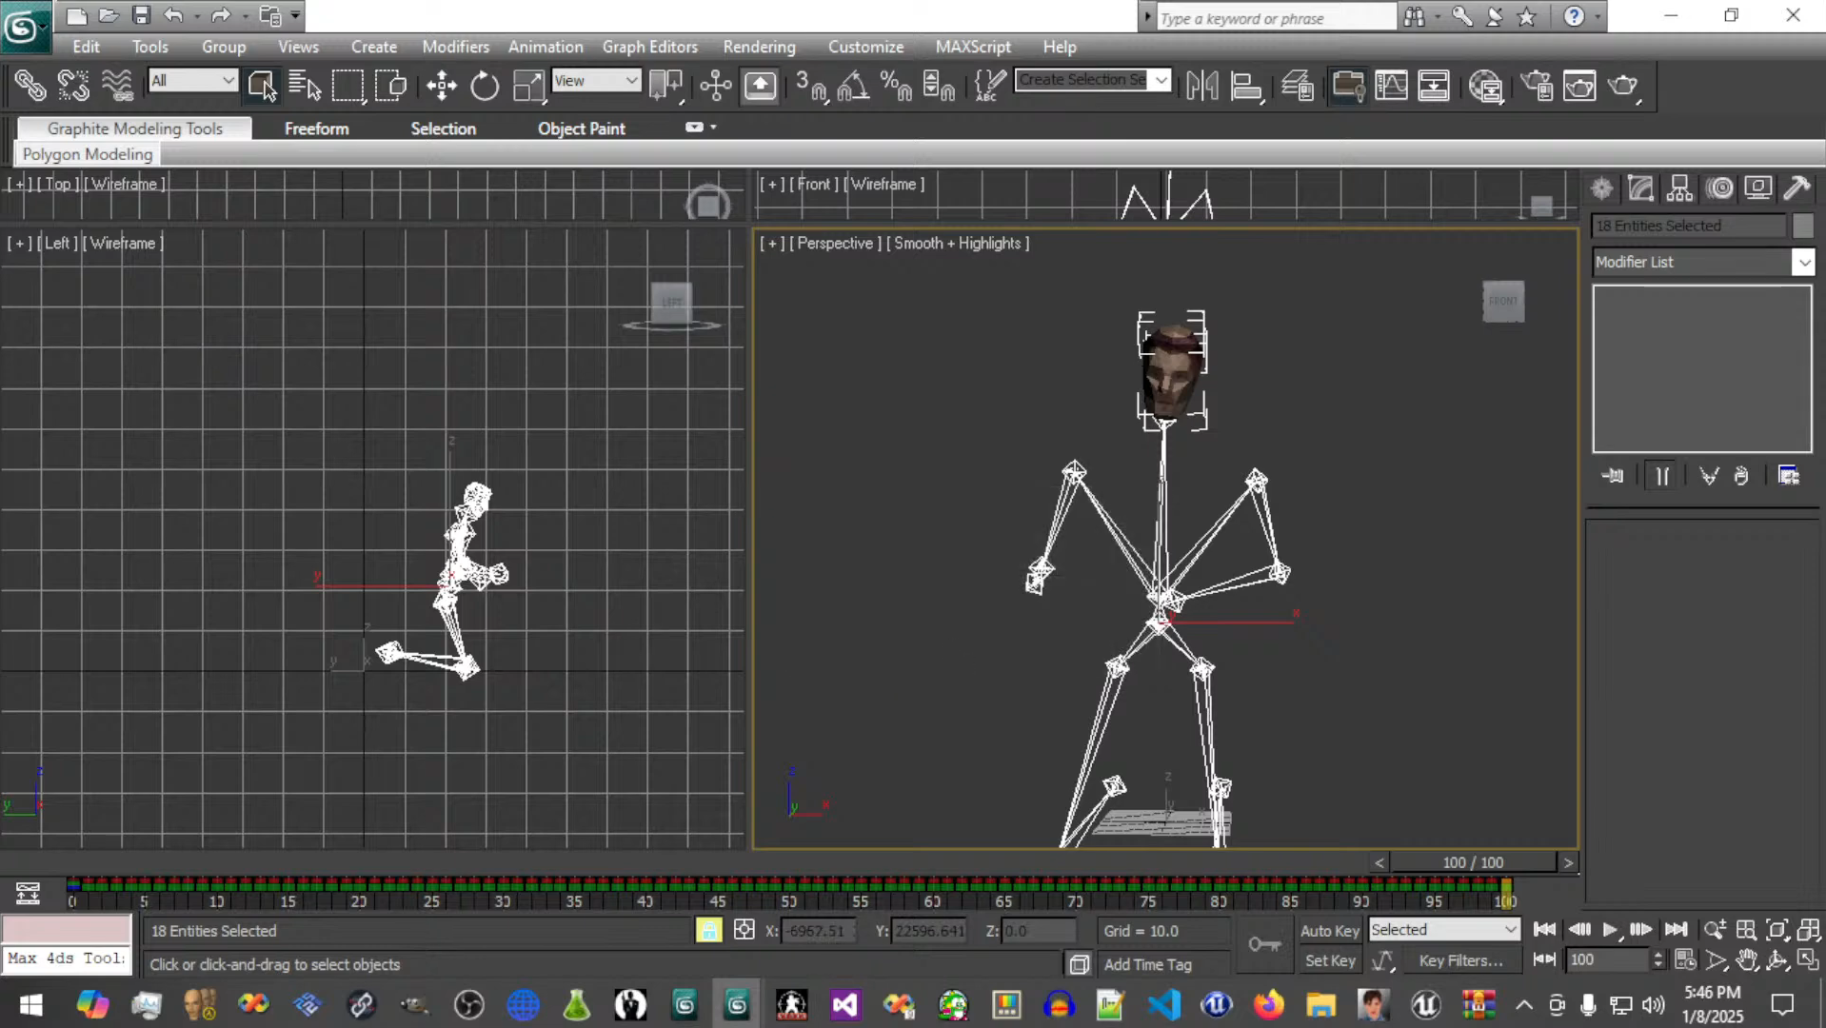
5. Verify & Adjust the Animation
Verify Animation
After applying the animation retargeting, scrub through the animation to check for any oddities such as
misalignment, stretching, or unnatural movements due to differences in bone structures.
Manual Adjustment
Some manual adjustments may be needed, especially for facial animations or complex motions. You can use
vertex weighting, bone position adjustments, or custom rigging to fine-tune any problematic animations.
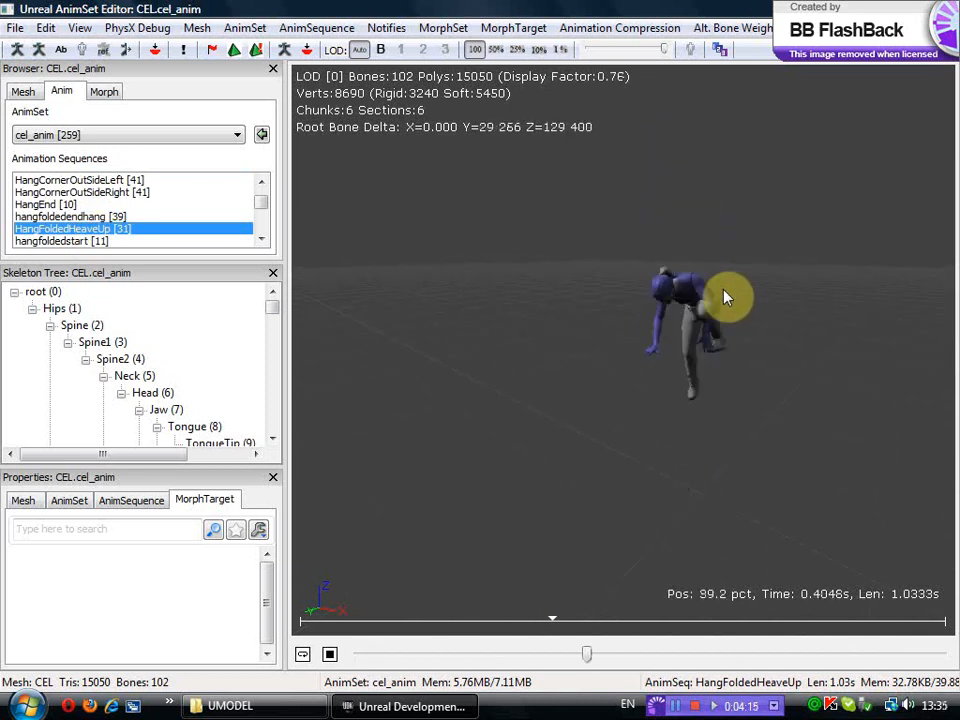
6. Export as .PSA Animation
Export the Animation
Once the animation has been successfully retargeted and looks good on the Mirror’s Edge skeleton, you can
export the animation as a .PSA file.
Steps:
Use a tool like PSA Exporter (or other specialized exporters) to save the animations in the required
format for use in Unreal Engine (if applicable for Mirror’s Edge).
Ensure all keyframes are properly set up and saved in the .PSA format.
Alternative Method (Using a Script or Plugin)
If you have access to specific plugins or scripts (such as Retargeter or CAT in 3ds Max), you can
significantly
streamline the retargeting process. These tools are designed to help match skeletal meshes and retarget
animations with fewer manual adjustments. The CAT Rigging System (Character Animation Tools) in 3ds Max can
also
help with matching skeletons, especially for bipedal characters.
General Tips
Work with clean rigs: Make sure both the original skeleton and Mirror's Edge skeleton
are
clean and well-defined (no extra bones or unnecessary transformations). This will make the mapping
process
smoother.
Use reference images or models: Having reference images or models (such as in T-pose)
of
both skeletons helps visually align them before proceeding with the retargeting process.
Test with simple animations first: Start by retargeting a few simple animations to
ensure
the process works before handling all 700 animations.
Summary Workflow
Import both skeletons (Mirror's Edge and GoldenEye/Perfect Dark).
Use the Skin Wrap Modifier to transfer deformations.
Adjust bone mapping using Bone Tools or Motion Flow.
Retarget animations using tools like Motion Flow or CAT.
Manually adjust as needed.
Export the animation as .PSA for the final format.
This method should allow you to efficiently retarget your animations without needing to do extensive manual
work
for each one.